Managing administrator accounts
The content of this page might not be fully up-to-date with Strapi 5 yet.
Administrators are the users of an admin panel of a Strapi application. Administrator accounts and roles are managed with the Role-Based Access Control (RBAC) feature. It is available in the Administration panel section of the section of the Settings sub navigation.
The Administration panel section is divided into 2 sub-sections: Roles (see Configuring administrator roles) and Users.


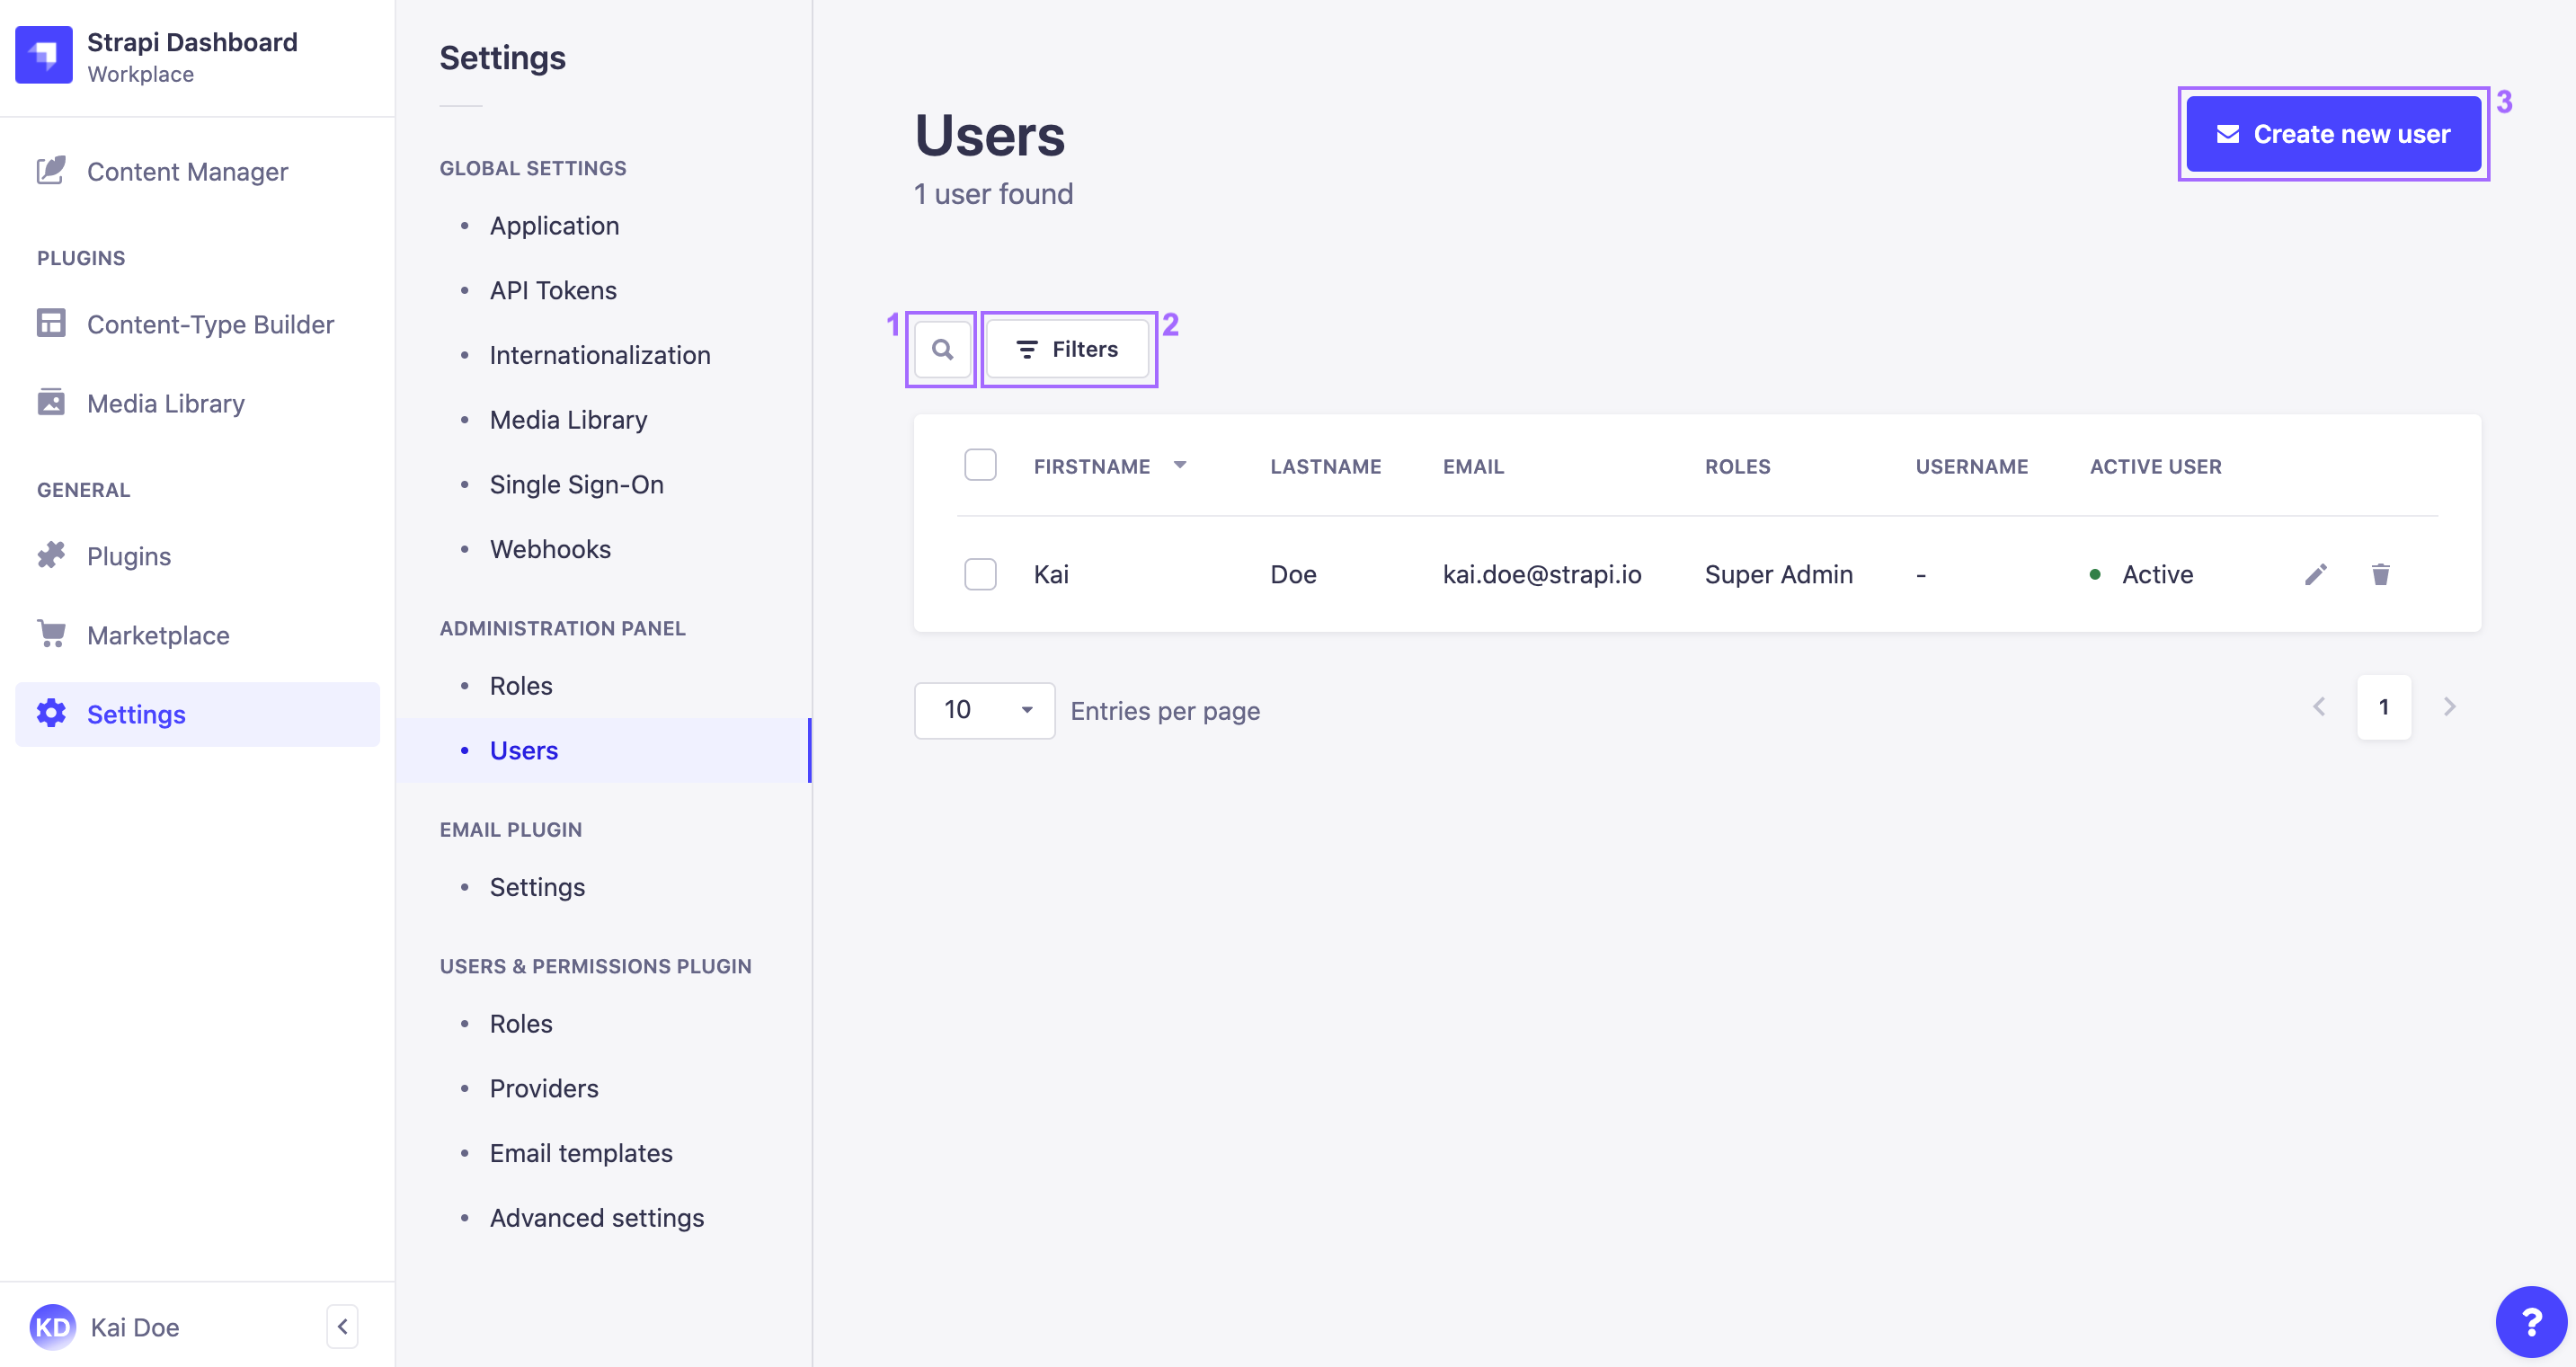
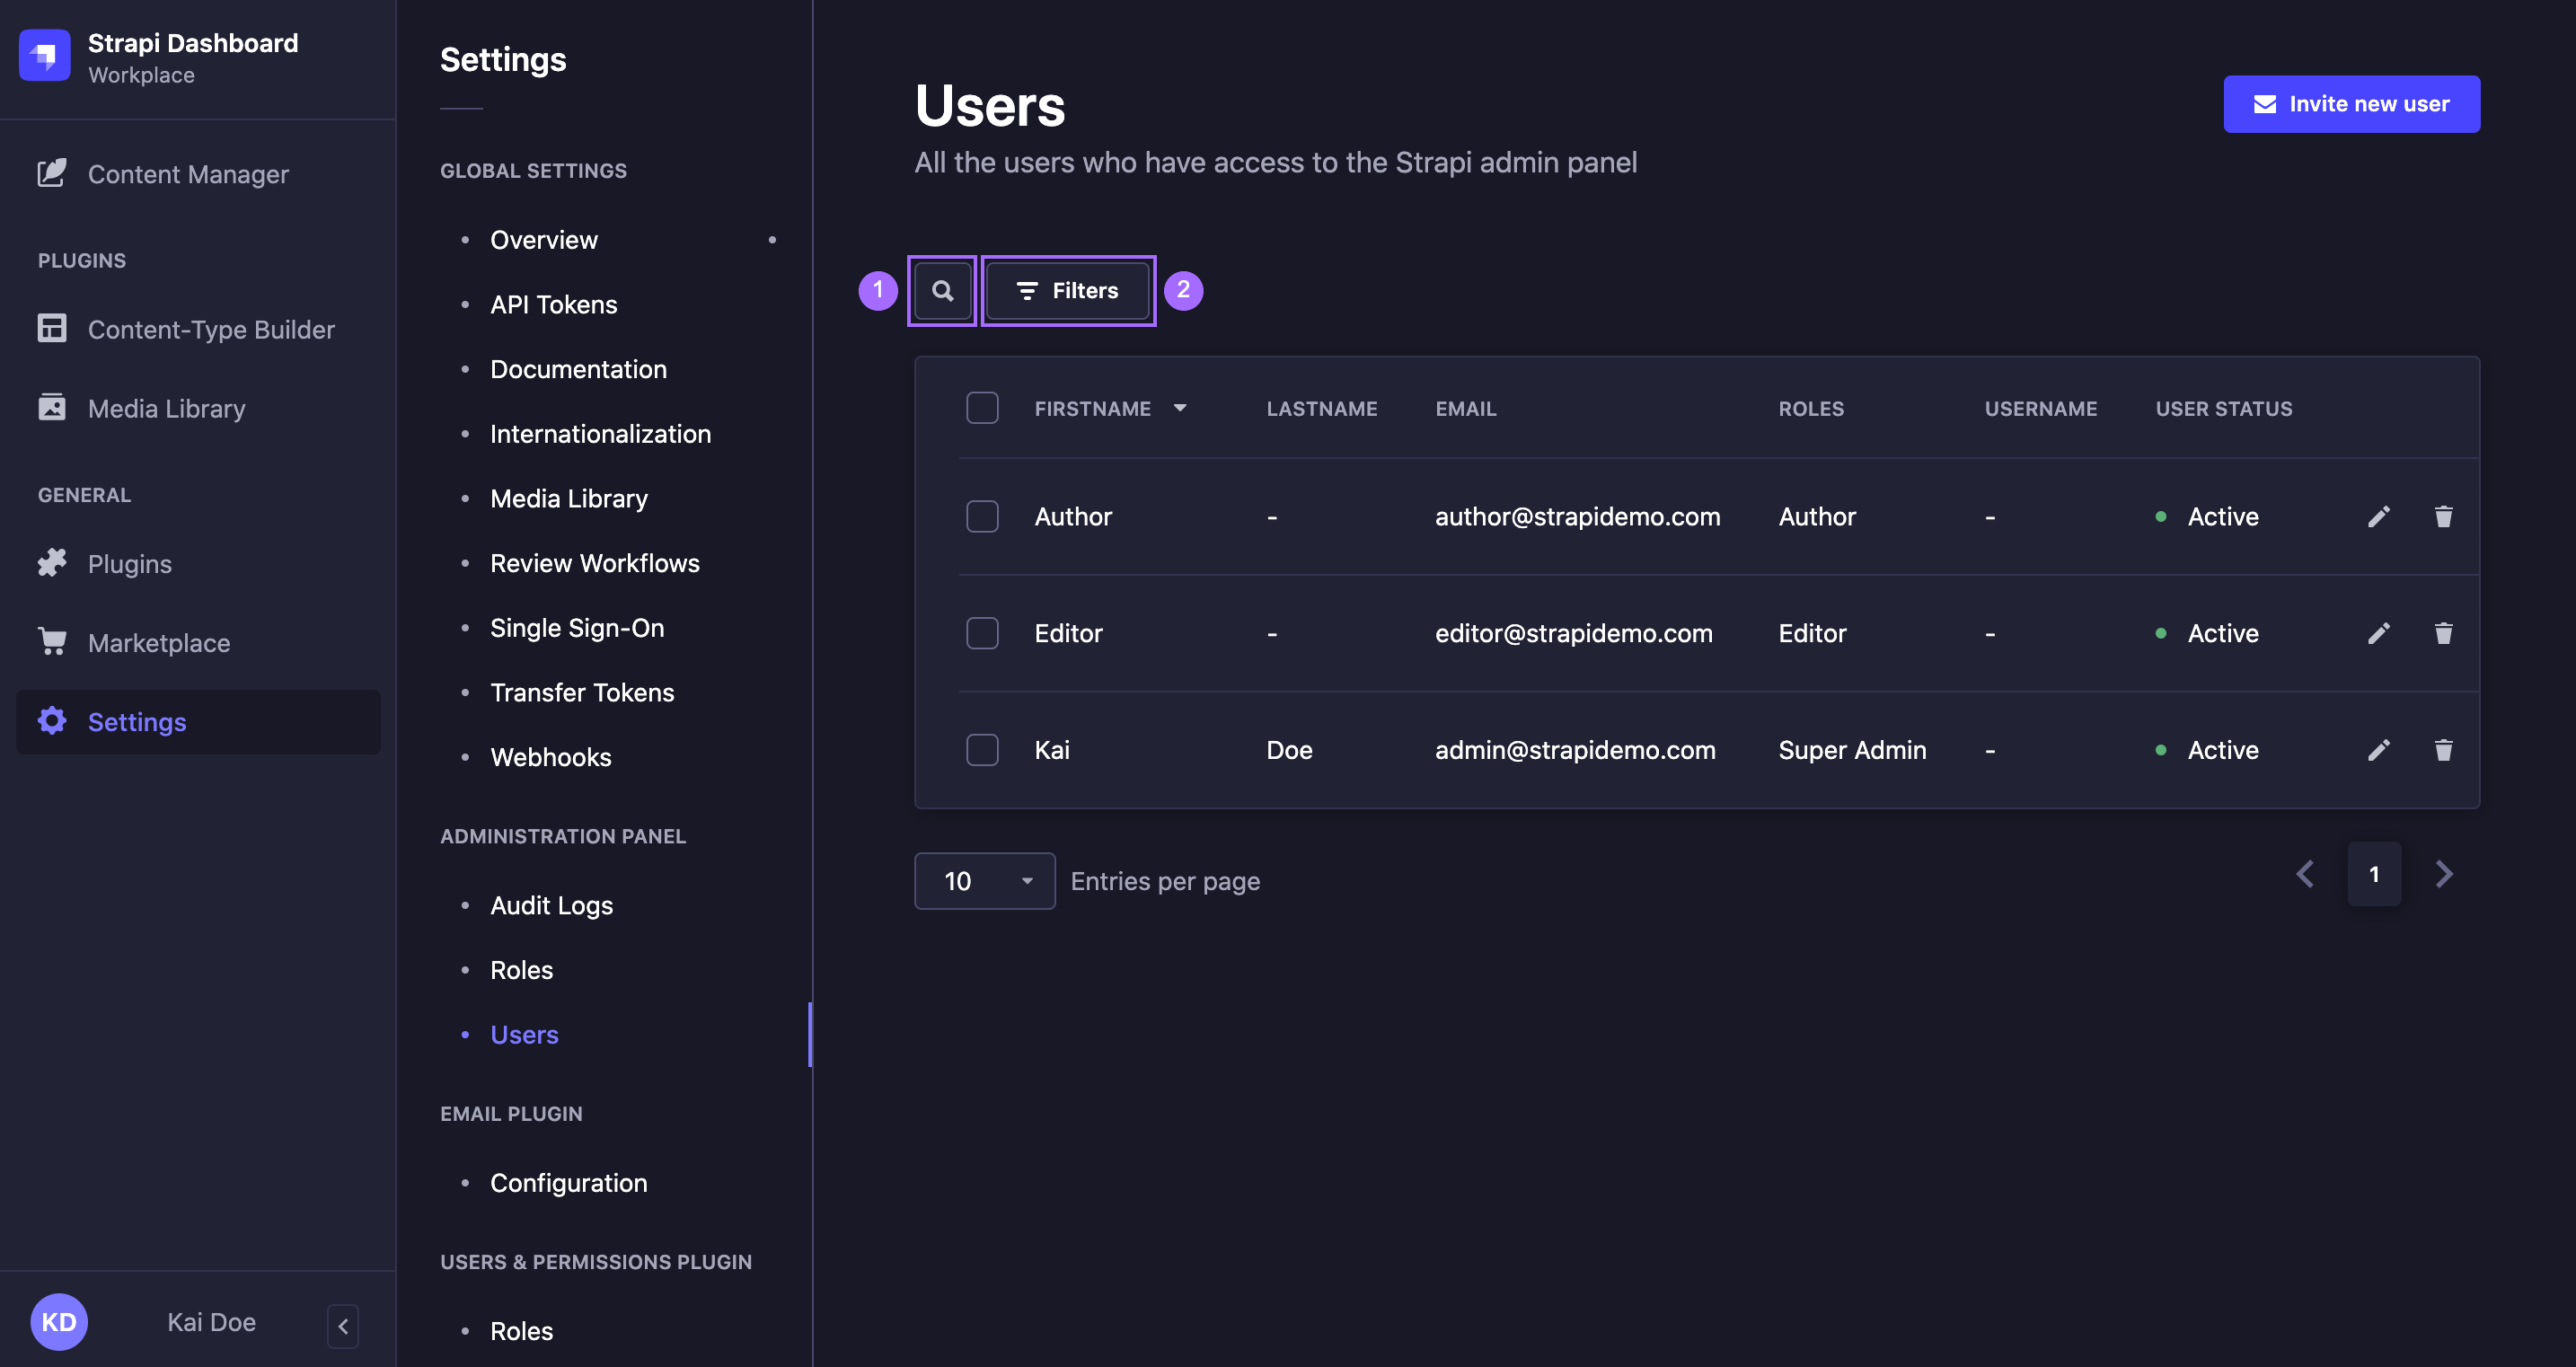
The Users sub-section of Administration panel displays a table listing all the administrators of your Strapi application.
From this interface, it is possible to:
- make a textual search 1 to find specific administrators,
- set filters 2 to find specific administrators,
- create a new administrator account (see Creating a new account) 3,
- delete an administrator account (see Deleting an account),
- or access information regarding an administrator account, and edit it (see Editing an account).
For each administrator listed in the table, their main account information are displayed, including name, email and attributed role. The status of their account is also indicated: active or inactive, depending on whether the administrator has already logged in to activate the account or not.
Sorting can be enabled for most fields displayed in the table. Click on a field name, in the header of the table, to sort on that field.
Creating a new account
On the top right side of the Administration panel > Users interface, a Create new user button is displayed. It allows to create a new administrator account for your Strapi application.
To create a new administrator account:
- Click on the Create new user button.
- In the Create new user window, fill in the Details information about the new administrator:
| User information | Instructions |
|---|---|
| First name | (mandatory) Write the administrator's first name in the textbox. |
| Last name | (mandatory) Write the administrator's last name in the textbox. |
| (mandatory) Write the administrator's complete email address in the textbox. |
- Fill in the Login settings about the new administrator:
| Setting | Instructions |
|---|---|
| User's roles | (mandatory) Choose from the drop-down list the role to attribute to the new administrator. |
| Connect with SSO | (optional) Click ON or OFF to connect the new administrator account with SSO. |
- Click on the Create user button in the bottom right corner of the Add new user window.
- A URL appears at the top of the window: it is the URL to send the new administrator for them to log in for the first time to your Strapi application. Click the copy button
to copy the URL.
- Click on the Finish button in the bottom right corner to finish the new administrator account creation. The new administrator should now be listed in the table.
The administrator invitation URL is accessible from the administrator's account until it has been activated.
Deleting an account
Administrator accounts can be deleted from the Administration panel > Users interface. It is possible to delete one or several administrator accounts at the same time.
To delete an administrator:
- Click on the delete button
on the right side of the account's record, or select one or more accounts by ticking the boxes on the left side of the accounts' records then click on the
Delete button above the table.
- In the deletion window, click on the Yes, confirm button to confirm the deletion.
Editing an account


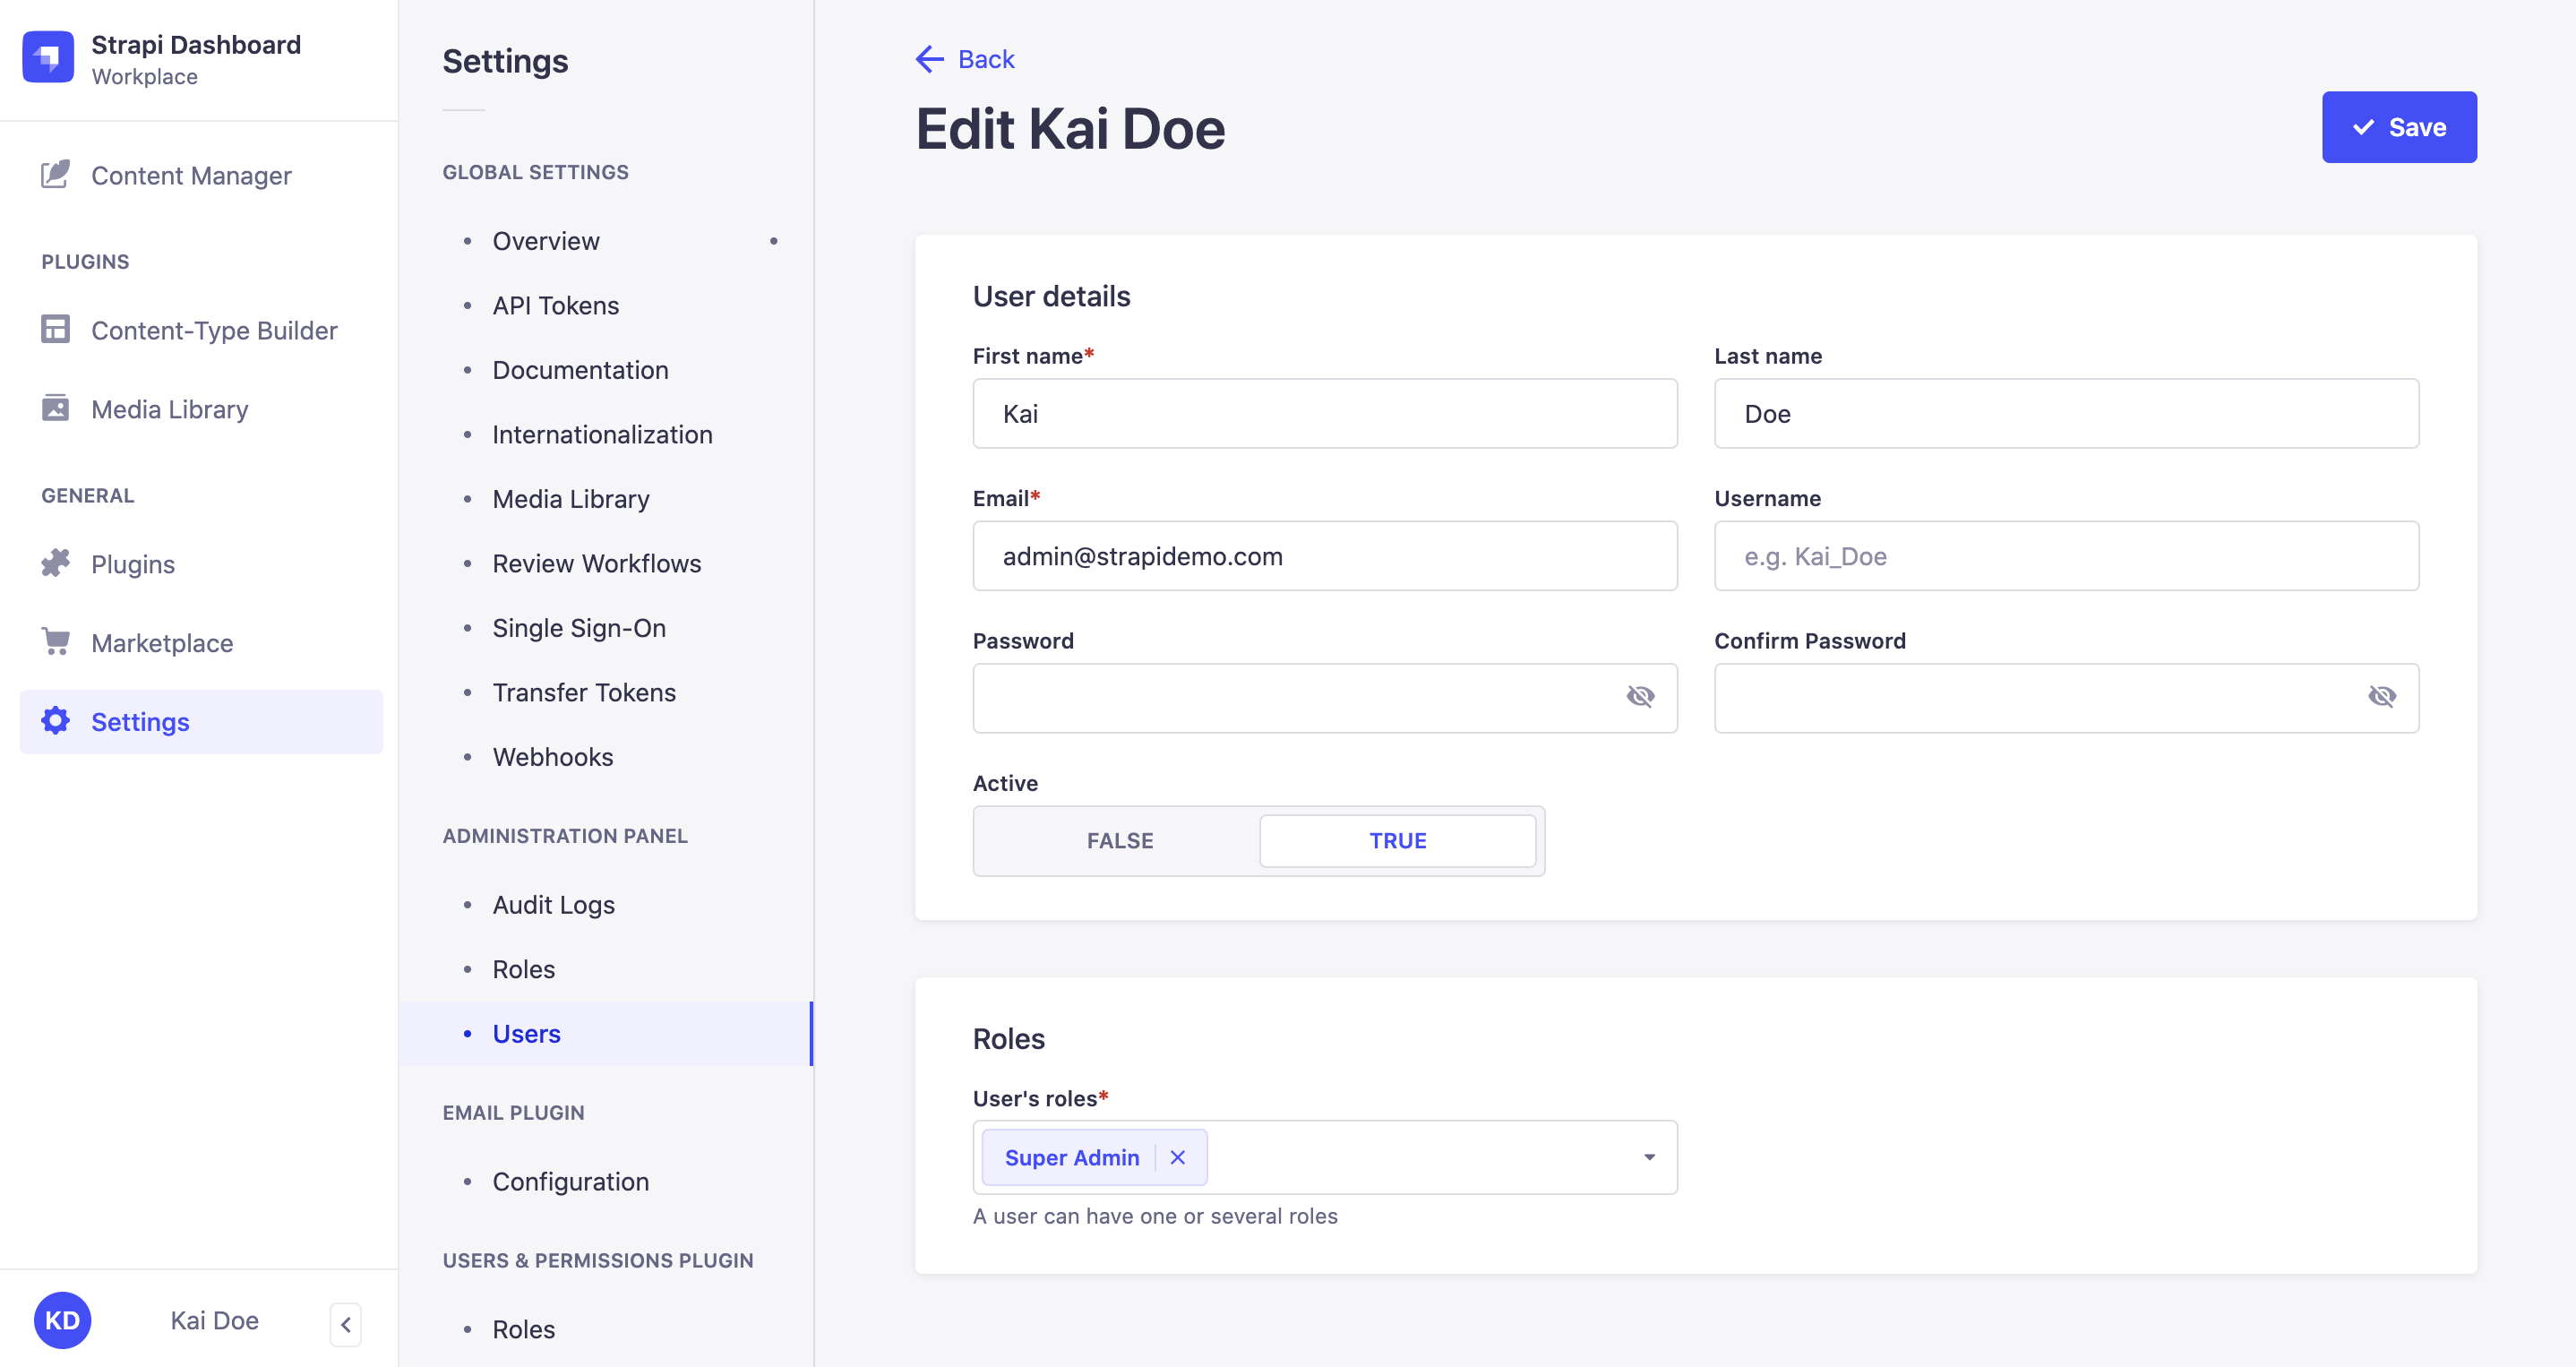
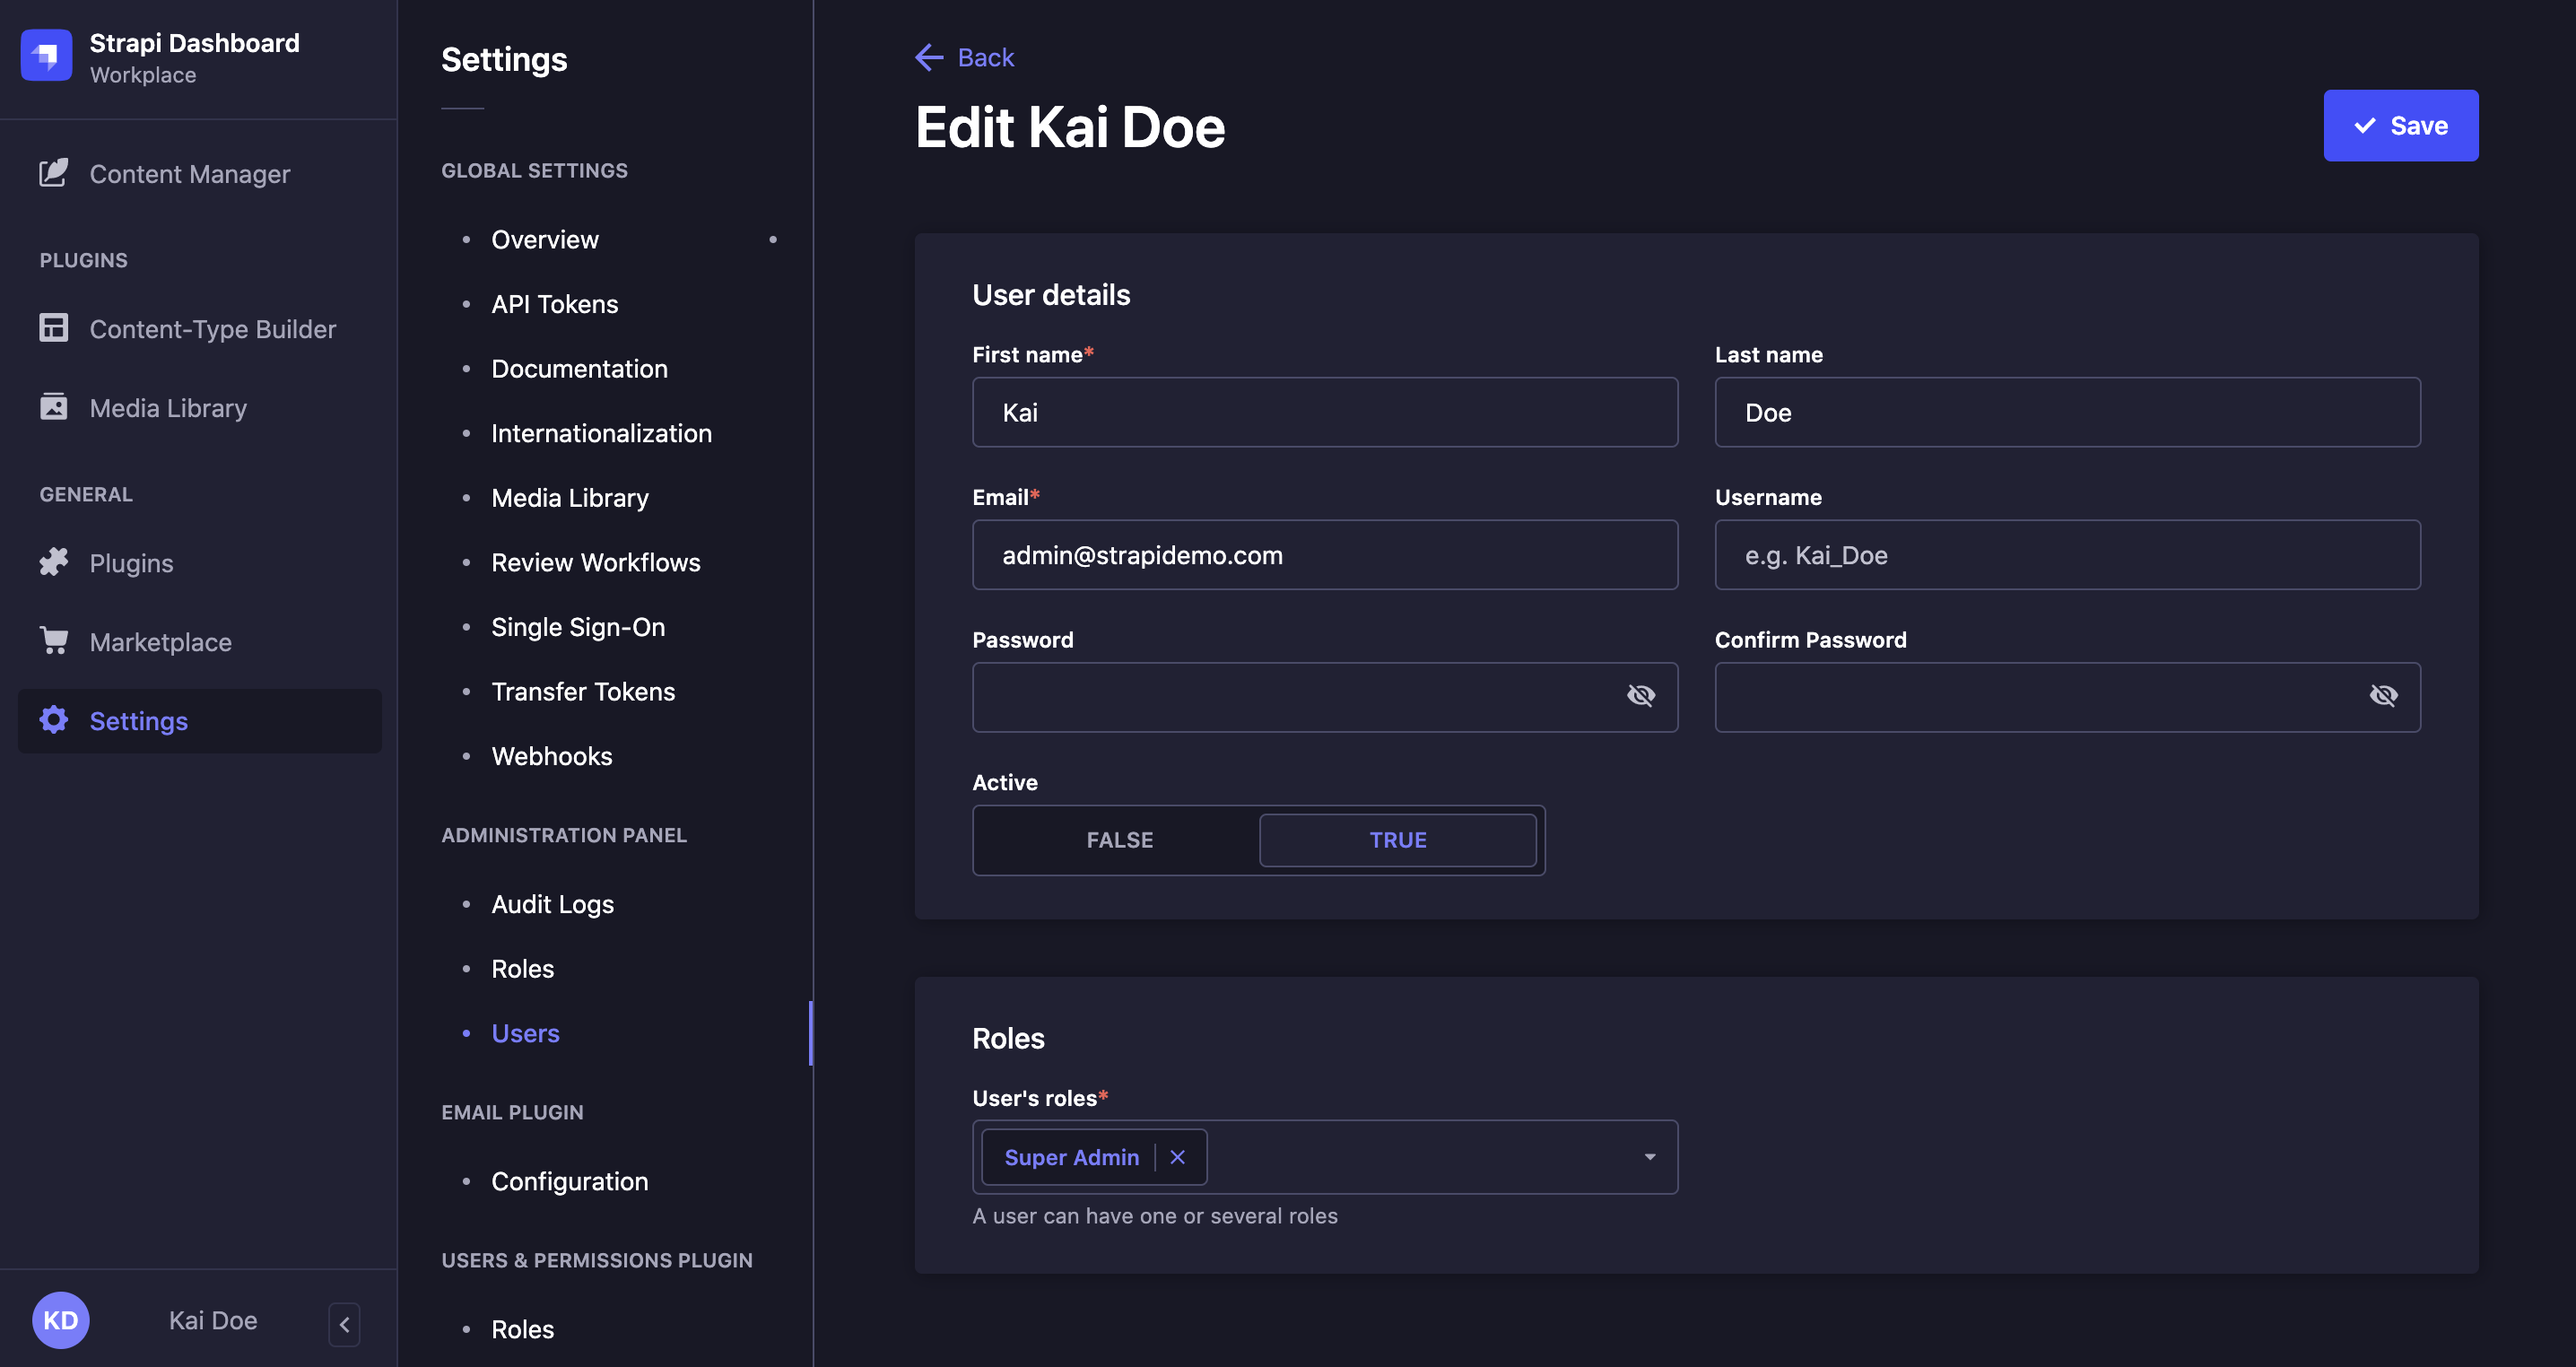
The table displayed in the Administration panel > Users interface allows to access all information regarding each administrator, where it is also possible to edit that information.
To edit an administrator account:
- Click on the name of the administrator whose account you want to edit.
- In the Details area, edit your chosen account details:
| User information | Instructions |
|---|---|
| First name | Write the administrator's first name in the textbox. |
| Last name | Write the administrator's last name in the textbox. |
| Write the administrator's complete email address in the textbox. | |
| Username | Write the administrator's username in the textbox. |
| Password | Write the new administrator account's password in the textbox. |
| Password confirmation | Write the new password in the textbox for confirmation. |
| Active | Click on TRUE to activate the administrator's account. |
- (optional) In the Login settings area, edit the role of the administrator:
- Click on the drop-down list to choose a new role, and/or add it to the already attributed one.
- Click on the delete button
to delete an already attributed role.
- Click on the Save button in the top right corner.